 Design Thinking as Constructionist Learning, Lessons from a Spring Hard Problem
In the second semester of Problem based Science, my 5th graders are introduced to their “Spring hard problem.” The spring hard problem marks the end of our patterns unit and the beginning of our study of structures and systems through the lens of making and problem solving. During our study of structures, students get a chance to use their understanding of materials, measurement and patterns to make blueprints for novel designs and to conduct scientific testing of those designs. If those structures involve moving parts or varying materials or embedded electronics, they are also learning about the relatedness of things that make up a system. This year’s spring hard problem had a design thinking and sustainability twist. Below is an account of this 6 month long unit, the unit learning outcomes and student feedback regarding the process.
What makes a problem a hard problem?
Hard problems require time (months), collaboration, creativity, grit and learning new skills to pass a challenge. The true sign of a good hard problem is when the adults do not have all the answers for students, rather the students get to take charge using their own imagination and ambition to reach a goal set by their team.
This year’s title? Design Detectives for the Common Good! To learn about structures and systems, as well as collaboration between and within teams, the class of 2018’s spring hard problem consisted of the following rules or prompts:
[photo missing]
PbS Spring Hard Problem
Students work in t.e.a.m.s. of four, based off of resumes created after unit 1: (must cover 4+ colors) to accomplish the above rules or prompts.
Constraints … the game
-
materials: Must use wooden pallets or e-waste on campus
-
design: design must be sound and meet the need of your demographic
-
aesthetics and purpose: design must meet the need of the greater community (it must be beautiful/foster community/communication)
Shared Language (key terms/content)
KEY: TERMS in Blue are Hard Skills and Grey are Soft Skills or Communication

Goals and Benchmarks
Phase 1: 2-4 weeks
Get into t.e.a.m.s of 4 (must cover 4+ colors) and discover your case (listen, collaborate)
Learn your case’s story (observe, communication, empathize, documentation)
Find a need (diagnosis, pattern recognition, synthesis)
Formal Peer Critique Session #1: Share 3 needs you found!
Phase 2: 6-8 weeks
Brainstorm solutions to meet the needs you discovered (listen, ideate, divergent thinking)
Formal Peer Critique Session #2: Share your top ideas!
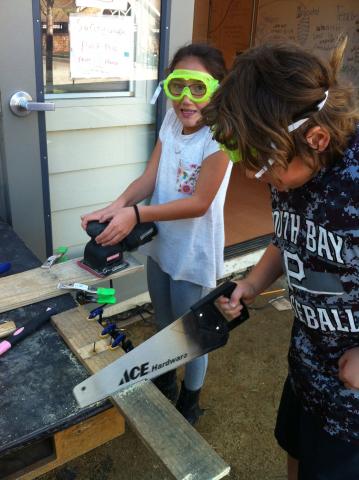
Design (convergent thinking, predict, blueprint making) and Build (measure, cut, aassemble, TinkerCad, CorelDraw) a working prototype
Informal Peer Critique Session #3: First prototype share!
Phase 3: 4-6 weeks
Test prototypes, Listen to and incorporate feedback from adults and peers, iterate on your prototype (collect testing results, analyze data, see patterns, use current data to move forward)
Phase 4: Share (communicate and tell your story at Maker Faire and craft a PASSING/FAILING w/HONORS claim that you passed all four rules and support all claims with evidence)
Assessment:
Our school gives end of year grades, the following skills are assessed for points. I give no tests or quizzes.
Teams kept a daily log to keep track of their project on Googledocs, this is a digital process maker portfolio. At times of deep engagement, I took photos of their work and inserted them into the daily log and asked students to insert captions. At times they recorded independently. I checked them often and gave a summative grade every two weeks. Teams recieved points for sharing work during peer critiques. Individuals got points for writing or making a self-assessment which contained a claim of passing or failing, as well as a reflection of tools and skills practiced to solve problems during this unit.
Sample Projects Made by Students:
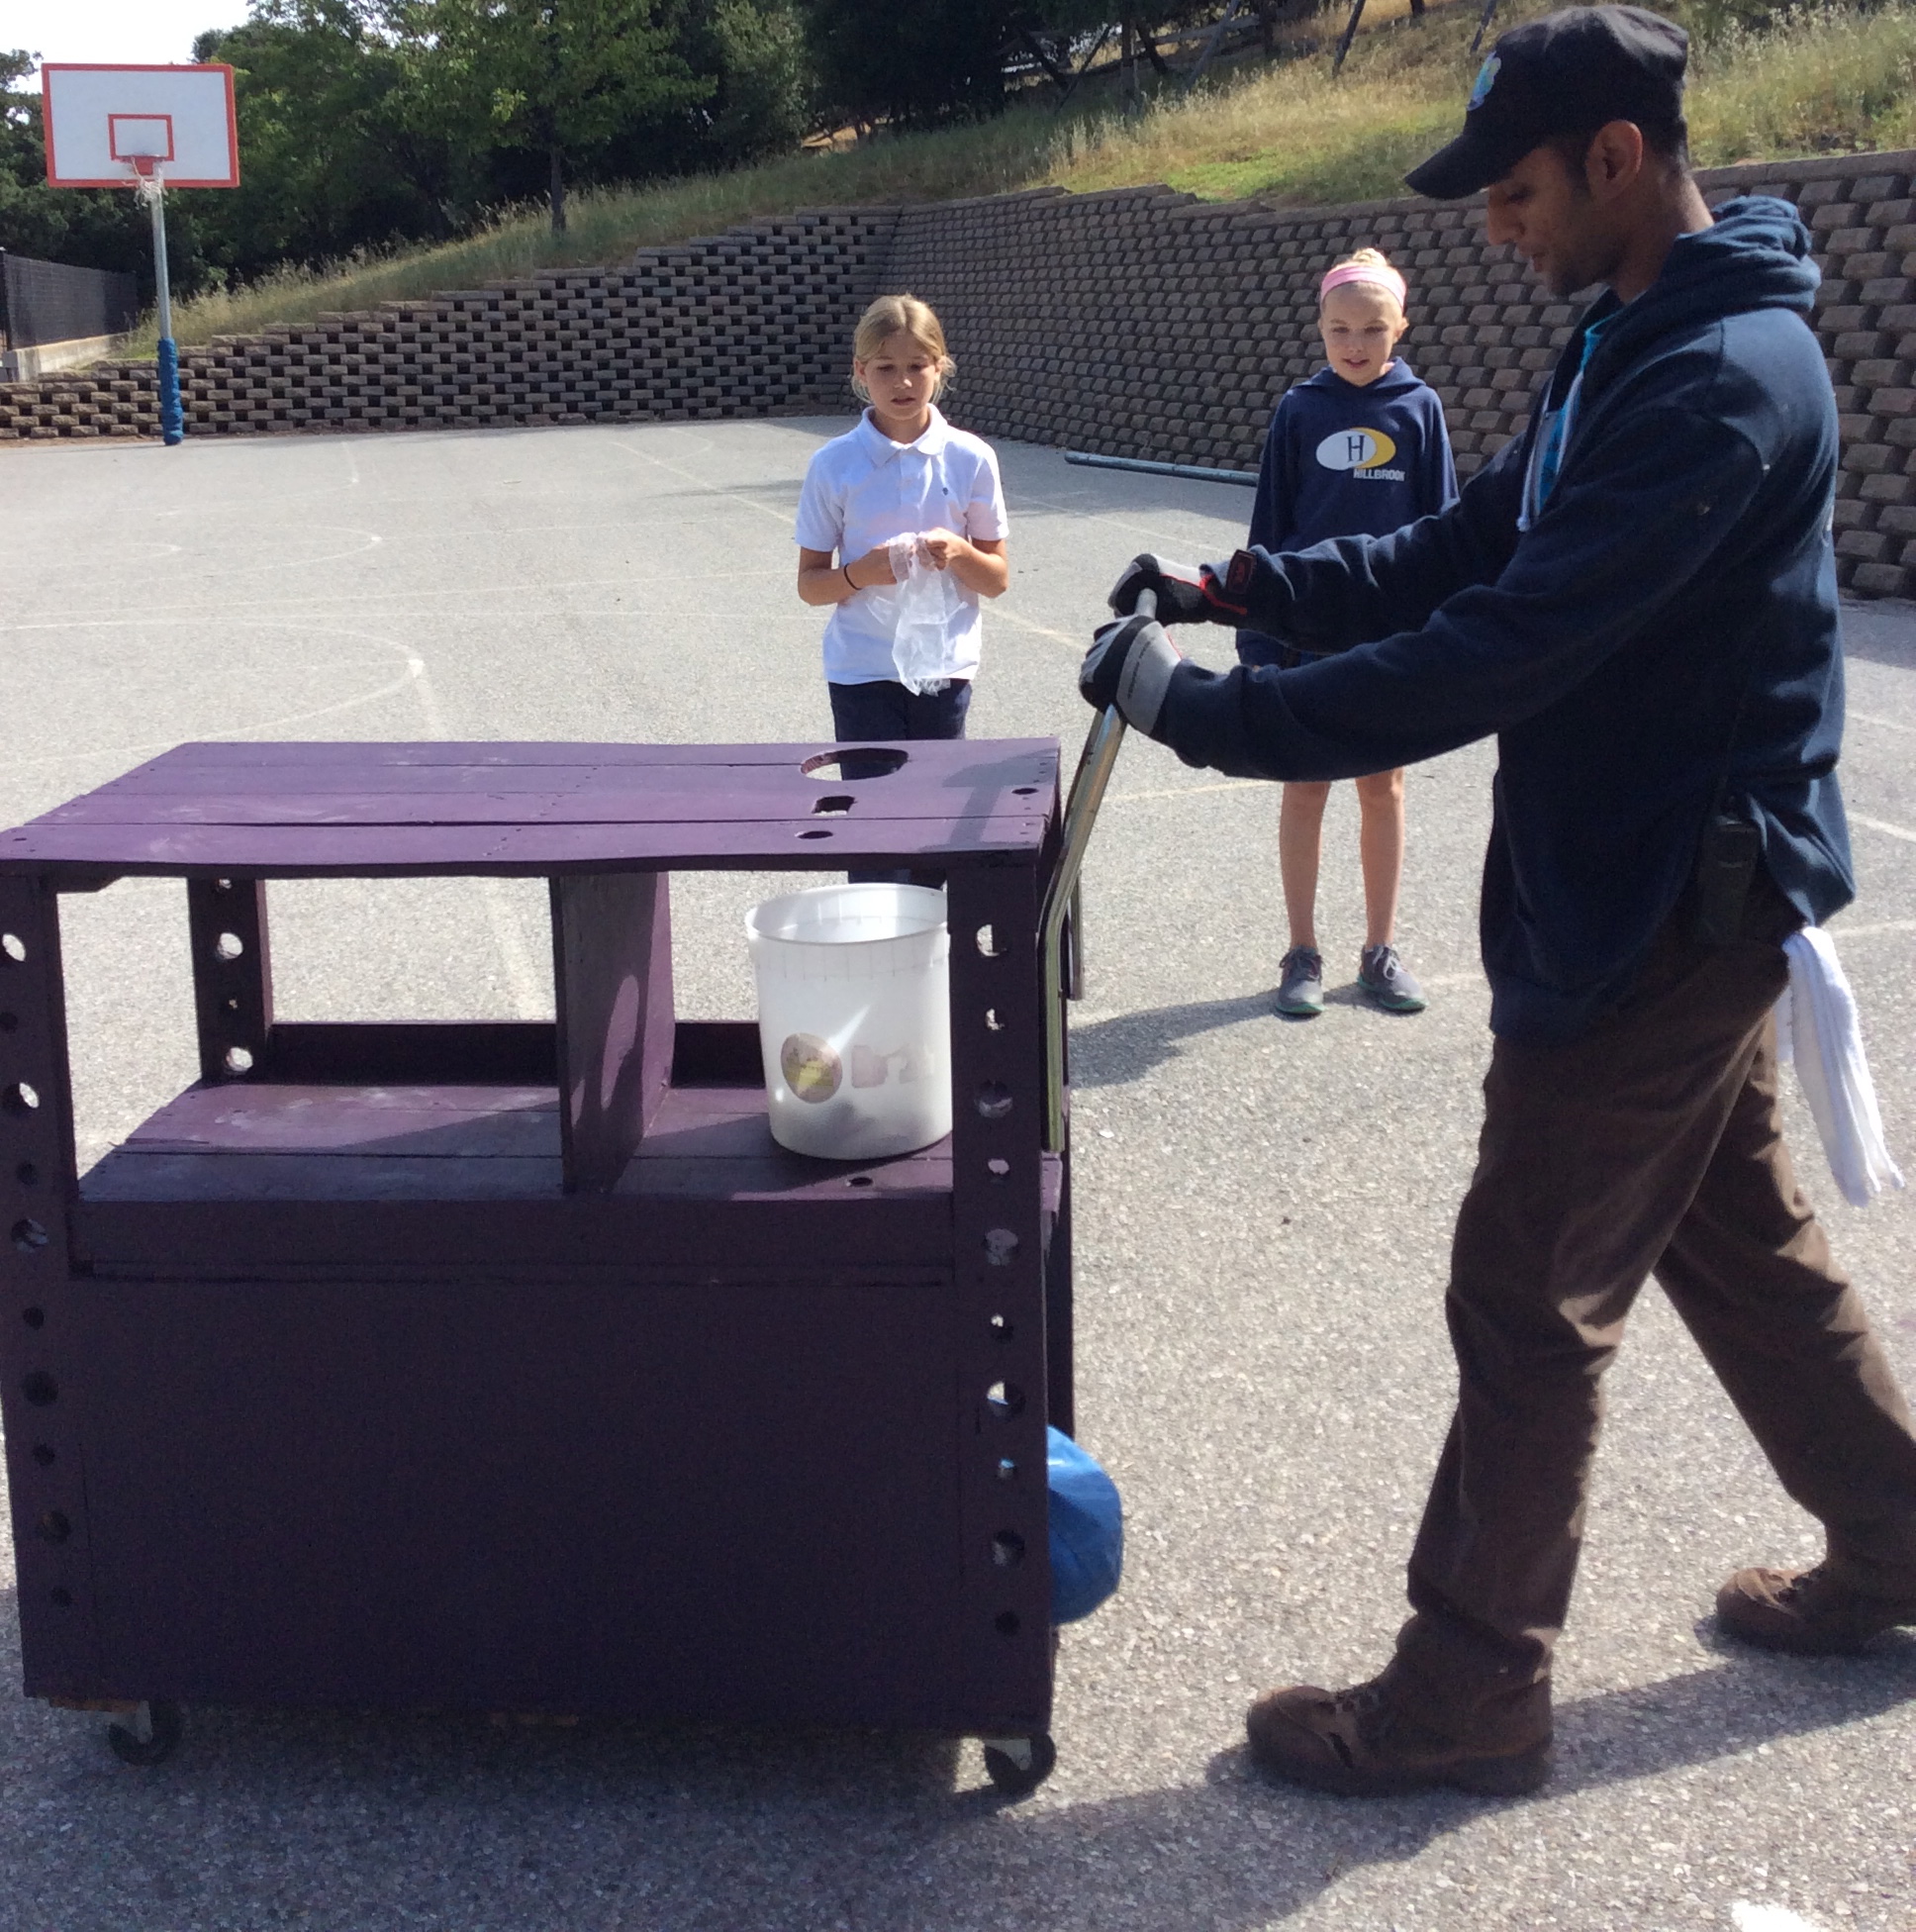
A cart made for maintenance staff member Dhimant by team “Golden Eagles.” His need was something inspirational that would help him collect lost and found.
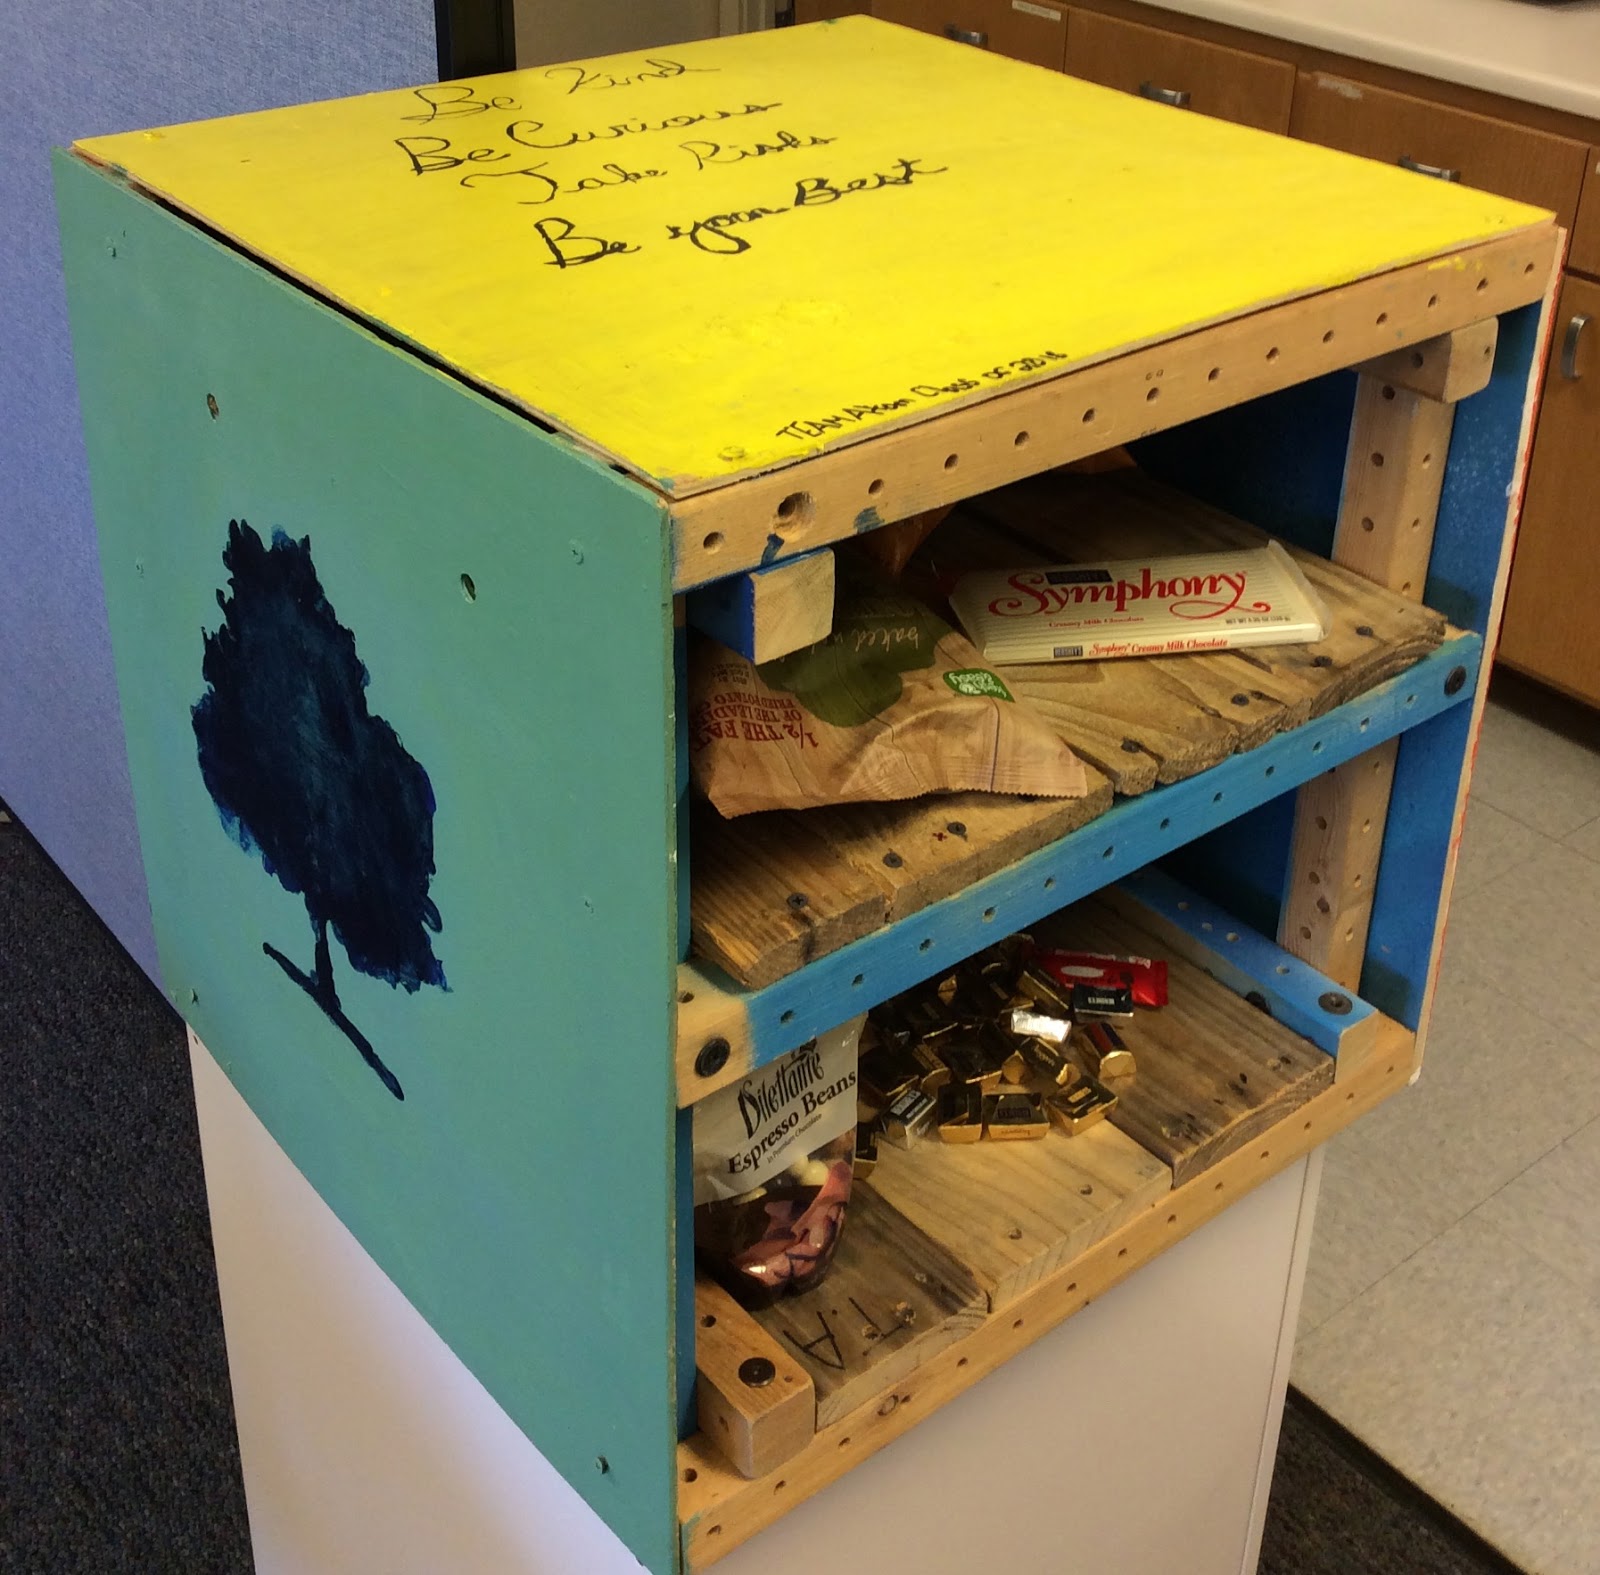
The Faculty Snack box made by Team Atom to form connections between peckish teachers.
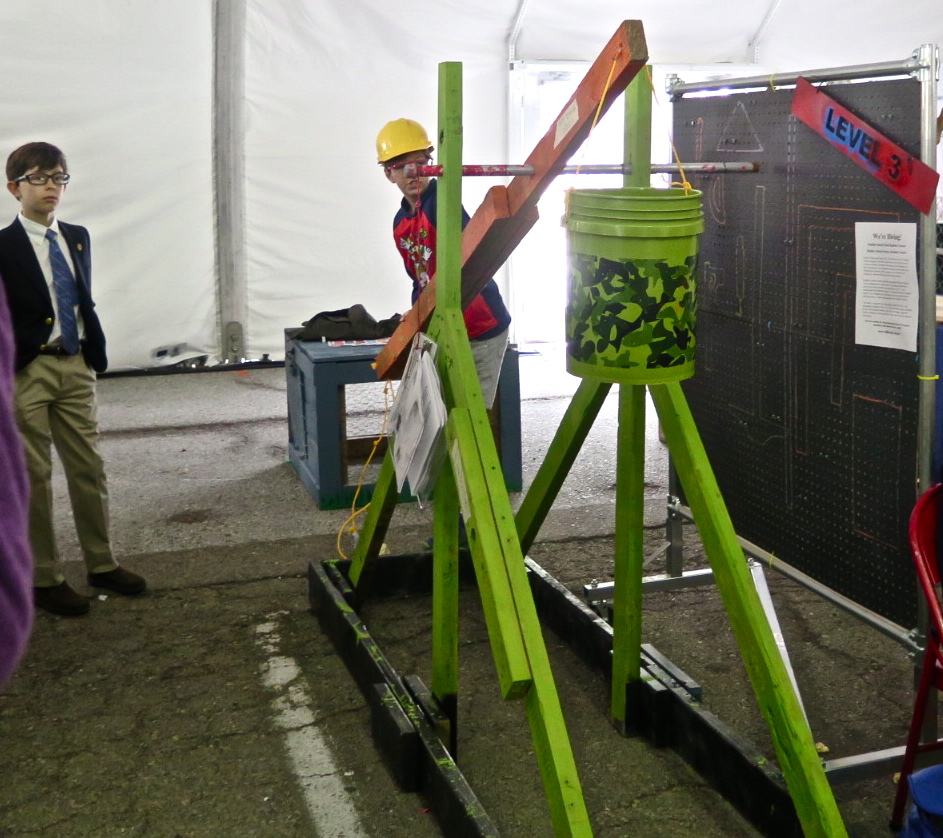
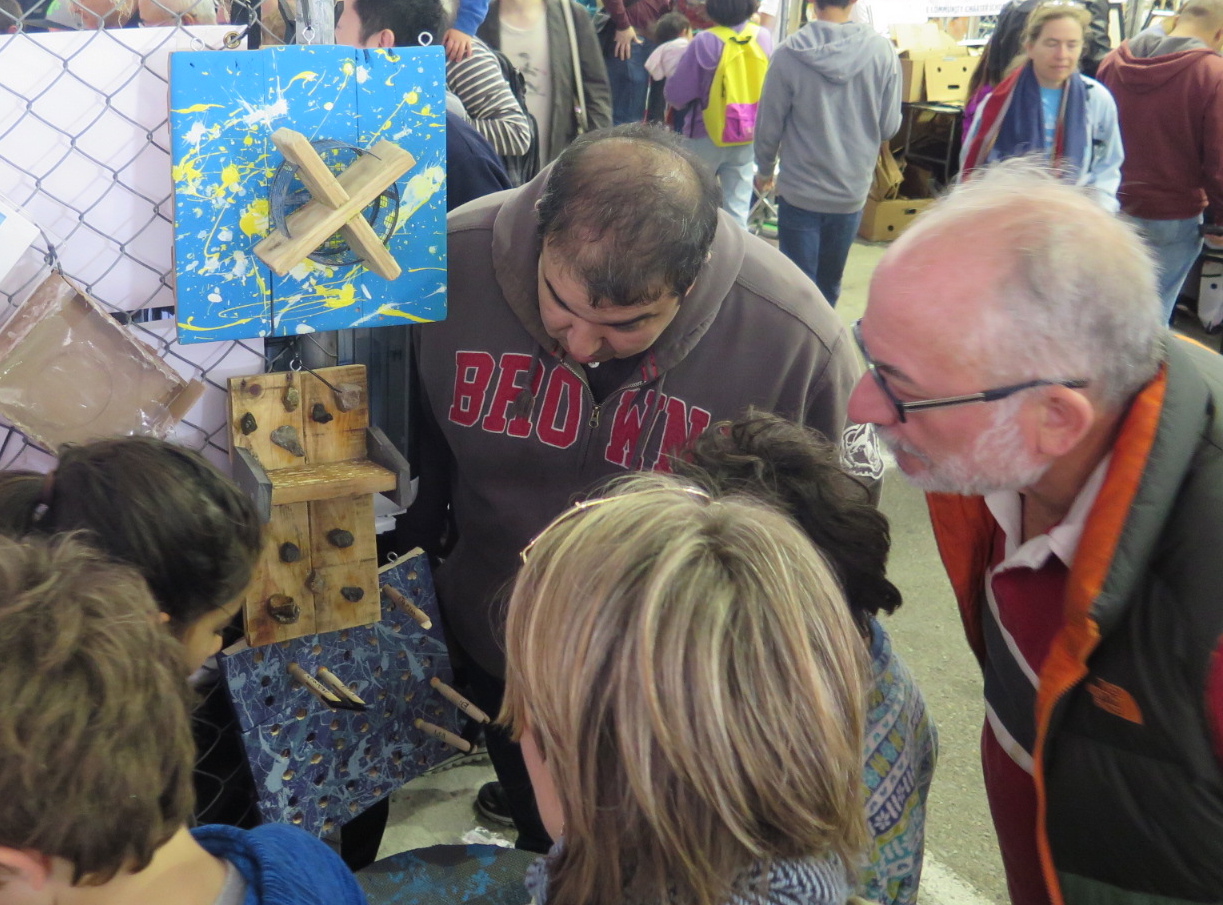
The Trebuchet made by the Trebuchet team for Ms. Flores’ Danger Playground prototype to teach SEL and physics, here shared at Maker Faire by student Eli.
An interactive water board installation to demonstrate water flow and drought adaption to Kindergartners.
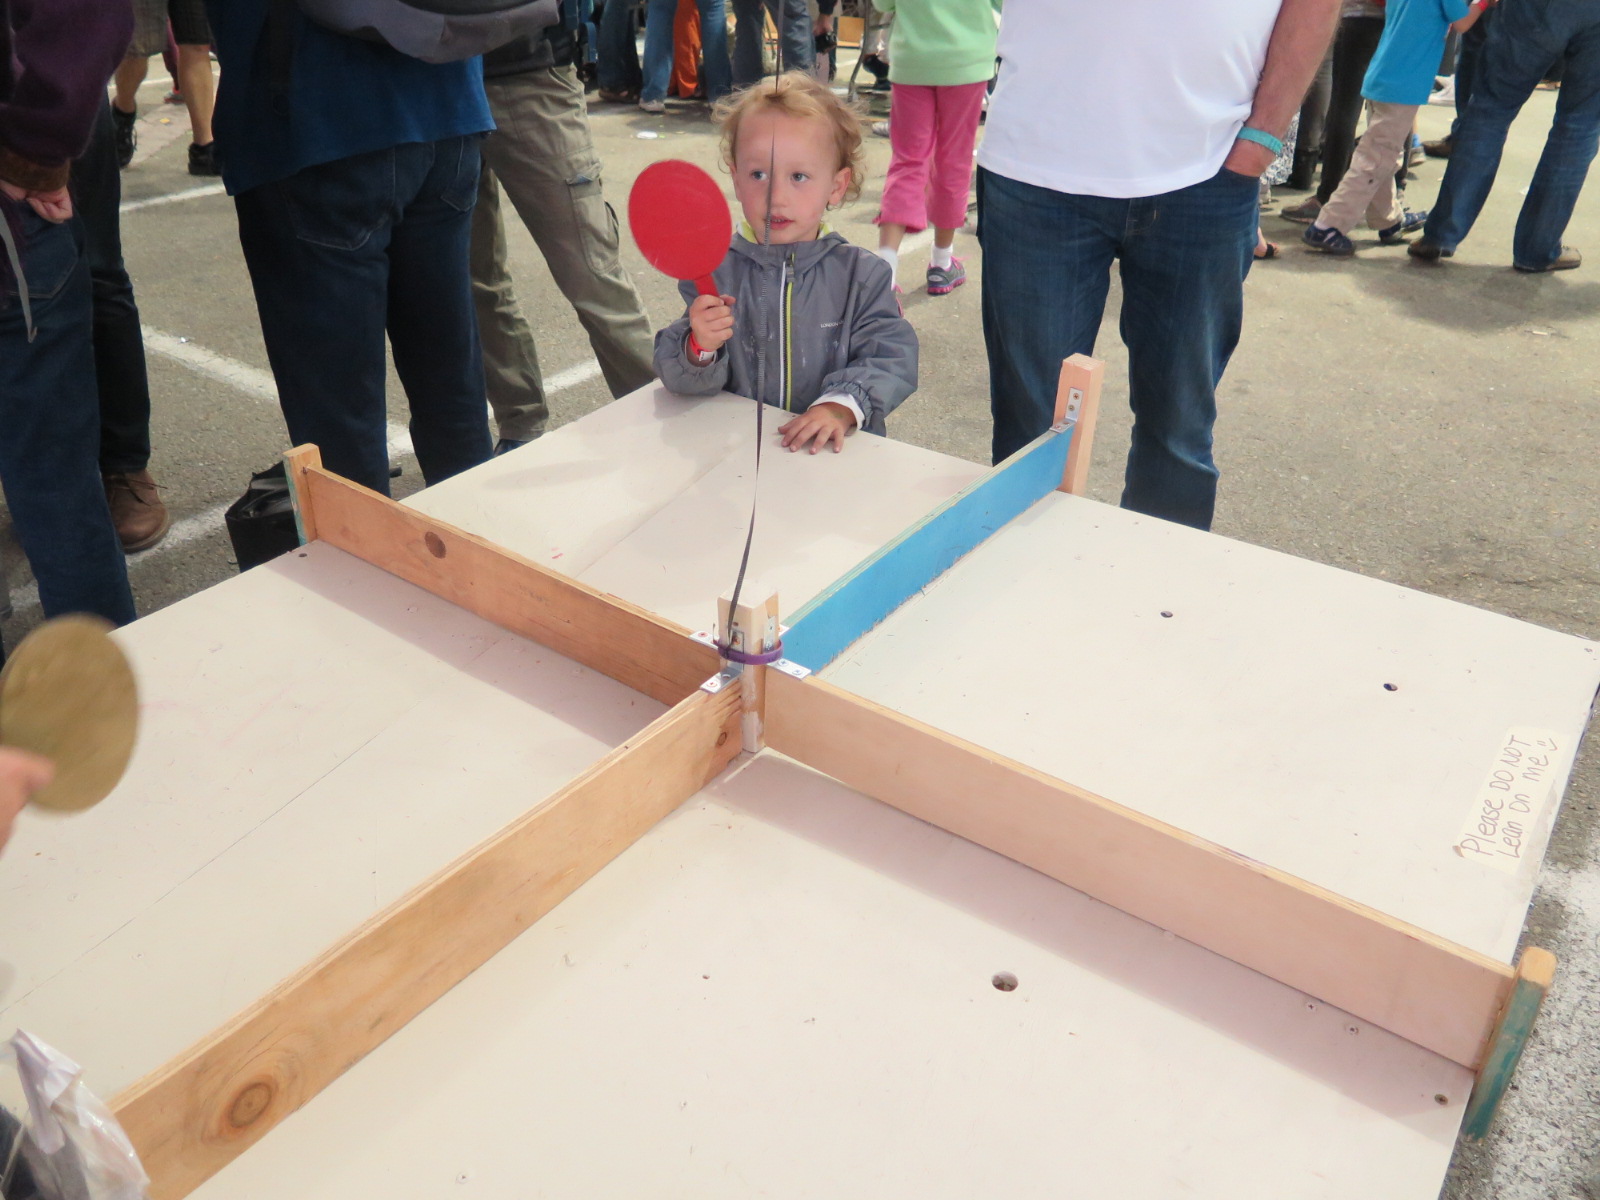
An interactive water board installation to demonstrate water flow and drought adaption to Kindergartners.
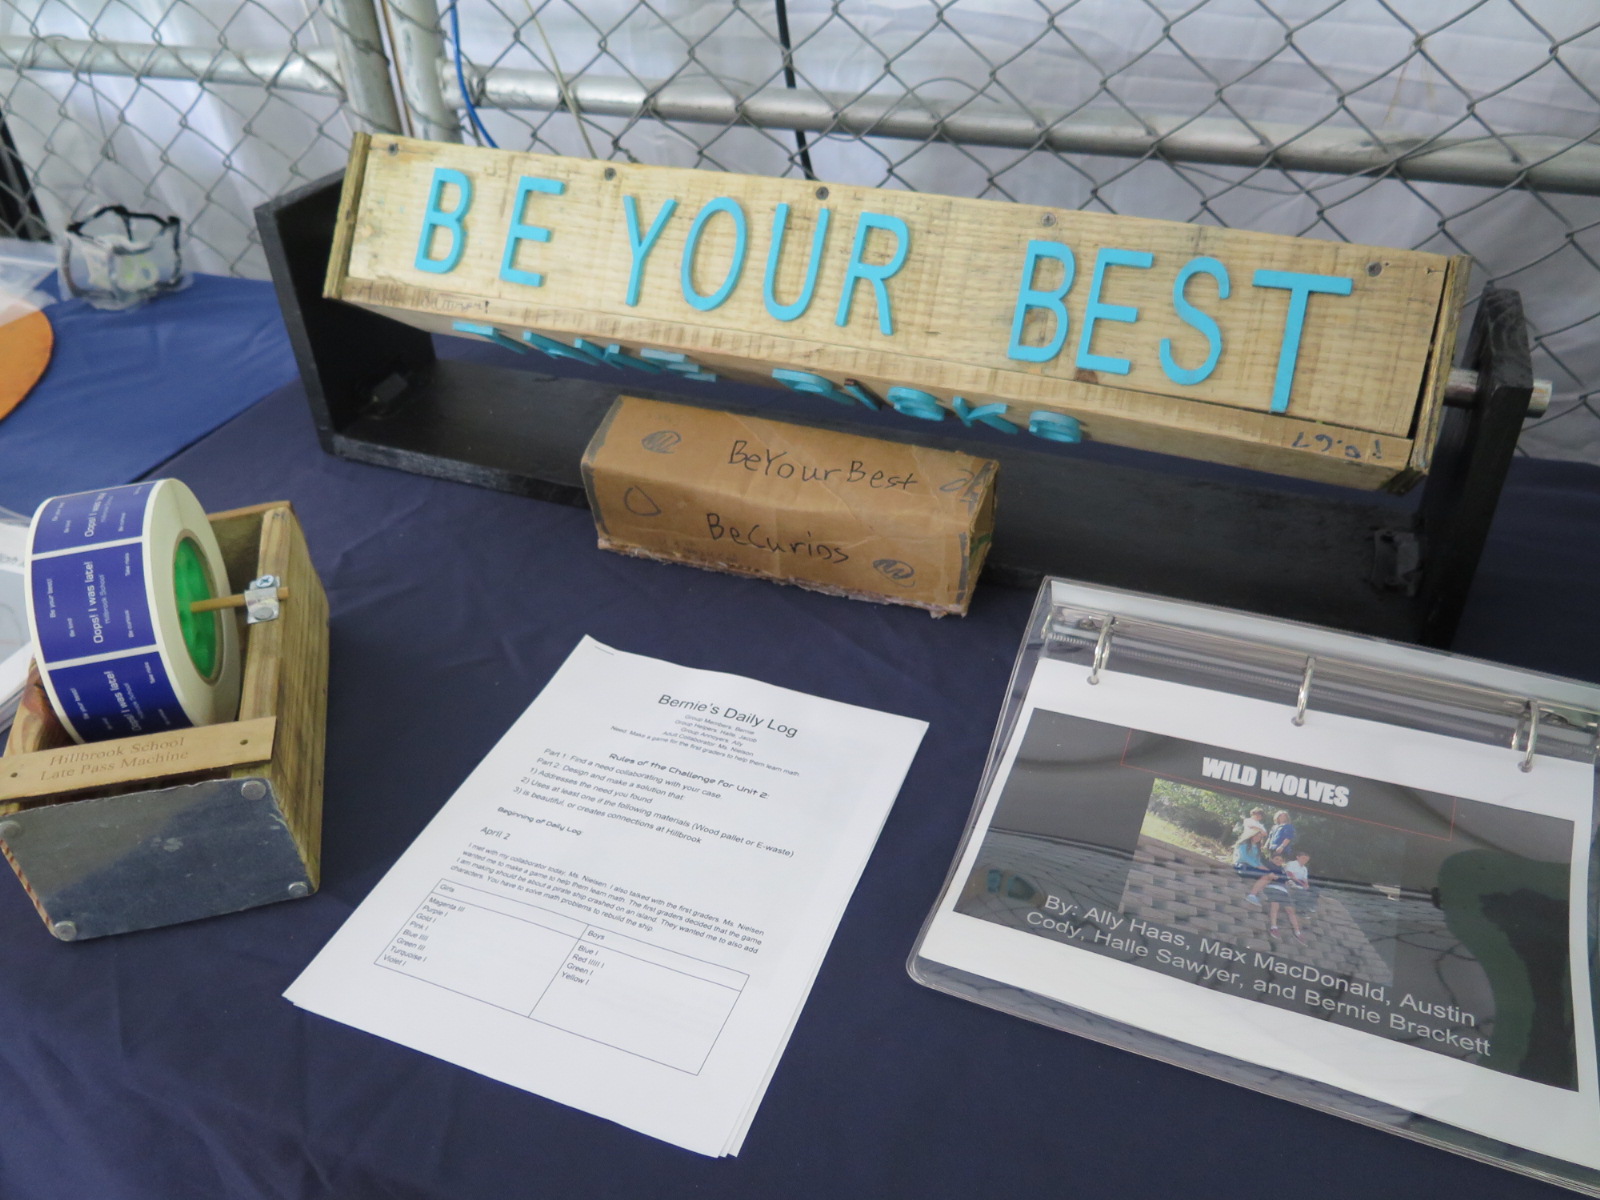
A new system for dispensing late passes (left) for front desk receptionist Ms. Chandler and the Inspiration Prism (back center) which you spin by hand to get the school motto of the day.
Student Feedback from process: (34 surveys collected from 10-11 year olds)
I still need to code and analyze much of the data, but when asked for feedback on this hard problem where students needed to work in the same teams for six months, some students had this to say;
“I learned that you have to be very patient.”
“I learned that everyone has different talents and that we need to use them all.”
“I learned how to solve problems and talk about different options.”
“I learned working in a group is not always easy. My group had a lot of disagreements.”
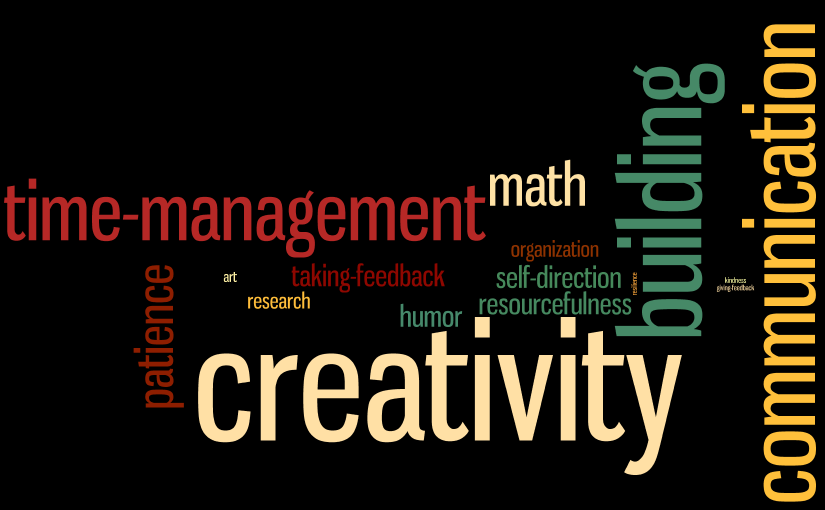
When given a list of the following skills:
Resilience, Patience, Creativity, Communication, Sense of Humor, Building, Math, Art, Time Management, Organization, Resourcefulness, Kindness, Taking Feedback, Giving Feedback, Research, Self-Direction
and asked to select the top three used to survive this unit, students produced the following data visualization from their choices:
Helpful Reading:
Scheer, Andrea, Christine Noweski, and Christoph Meinel. “Transforming constructivist learning into action: Design thinking in education.” Design and Technology Education: an International Journal 17.3 (2012).


 I posted a while ago about the line between instructions and letting students figure it all out, and I said I would report back after I taught the telegraph lesson.
 In some ways,
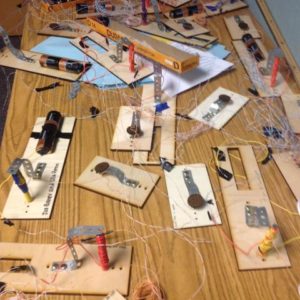
  My sixth and seventh grade STEAM students immersed themselves in the wonder of electricity this school year. They started out by exploring basic circuits, using blocks that I constructed using the Exploratorium’s ideas from their