This article has colaboration of Pietro Domingues.
In this section we will see how to reproduce workpieces using many materials.
Some materials we can use at room temperature, such as Plaster of Paris and resin. Other
materials must be melted at higher temperatures, such as Tin and Paraffin wax.
Plaster of Paris
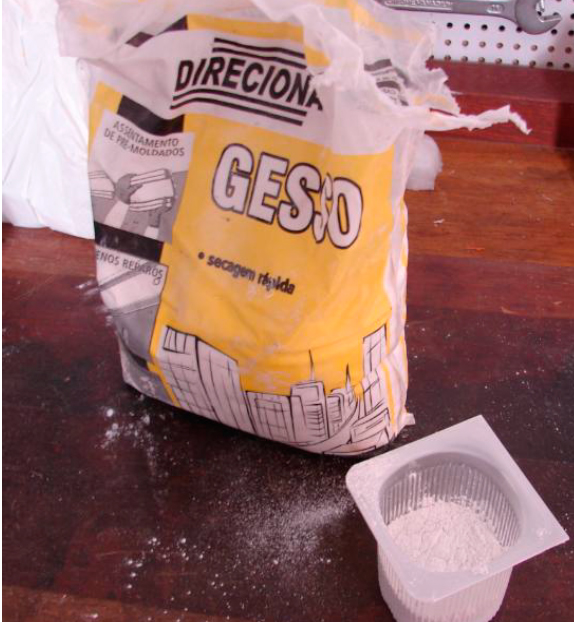
Materials:
Plaster (dry powder)
Container
Stick
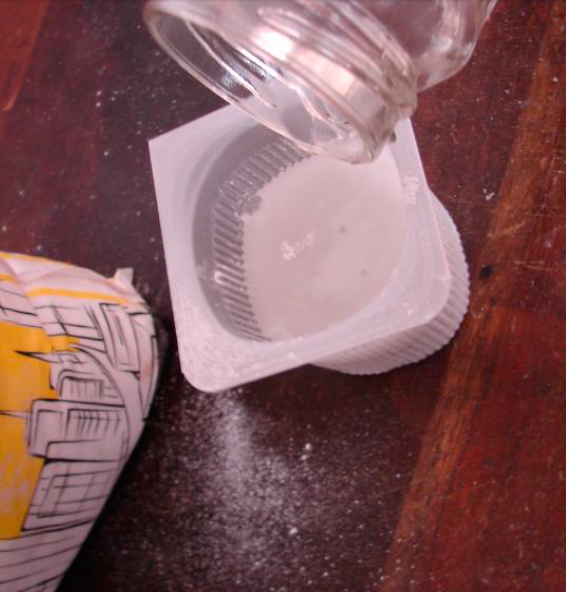
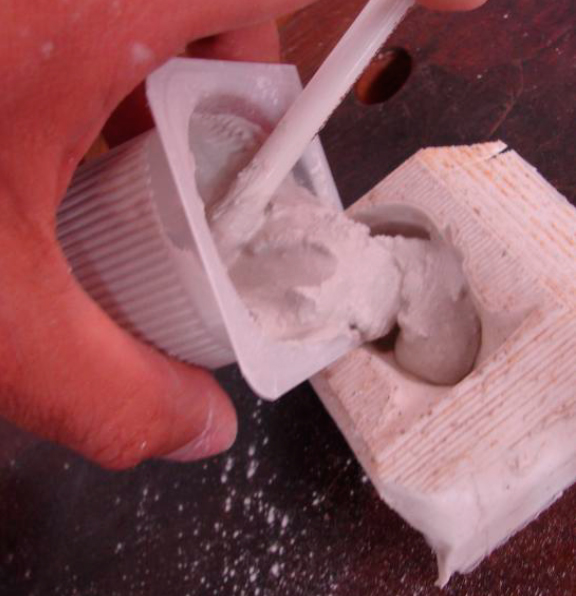
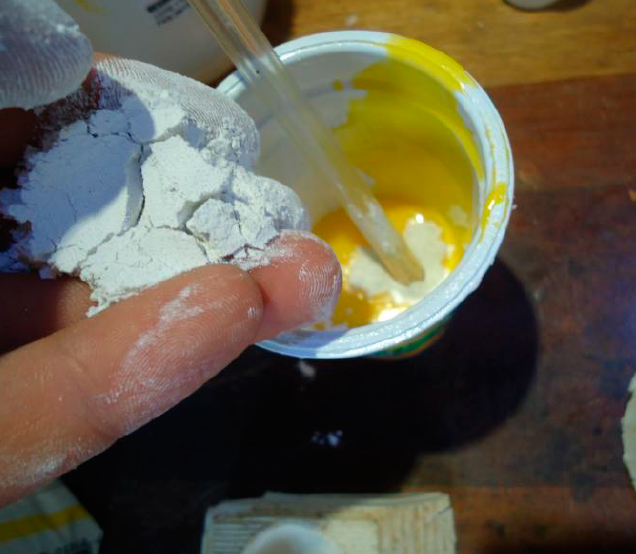
1 – Drop water and dry plaster powder at the same amount in the container.
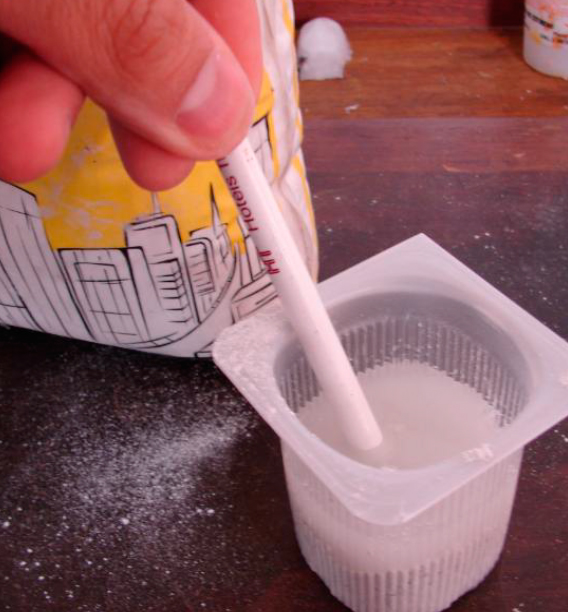
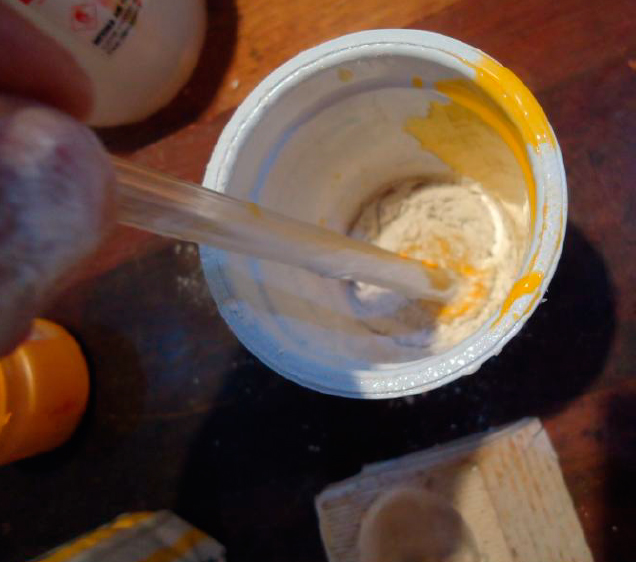
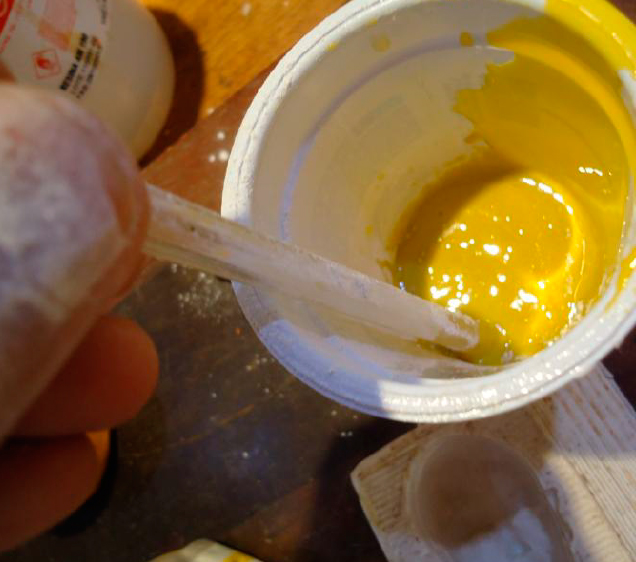
2 – Stir the mix (Just a little)
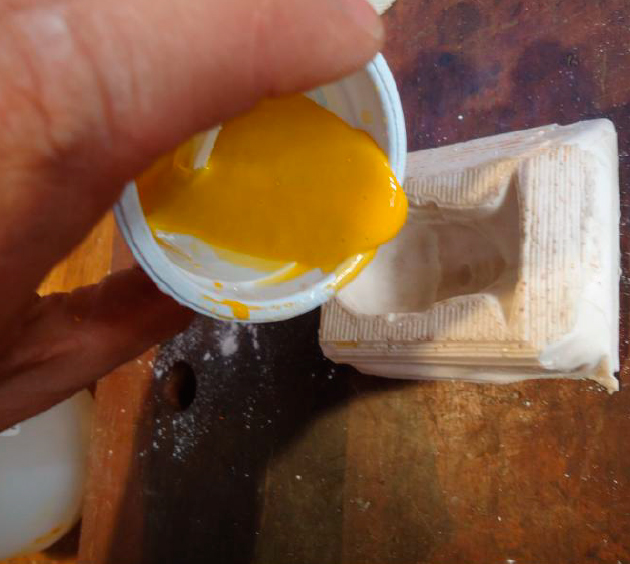
3-After getting a good mix, drop it into the mold. If necessary, forces the mix against the mold
to ensure that the mold is filled
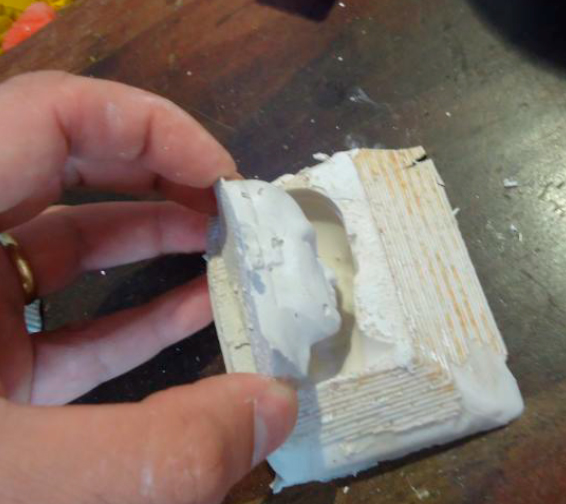
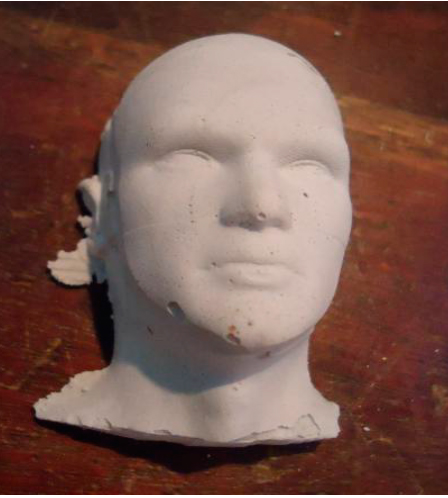
4 – The setting of unmodified plaster is complete after 30 minutes, and the workpiece is ready.

Polyester Resin
Polyester resin are great to make low cost reproductions, keeping the same quality. Although the mechanical resistance of this material is not high, it can be used in some mechanical applications.
It’s highly used by artisans to manufacture fridge magnets, miniatures, keychains, etc.
As Silicone, resins are manufactured in liquid state. We need a catalyst to give a shape to the object.
Warning: It’s highly recommended to work in a fresh place, using gloves, glasses and if possible, an air-purifying respirator.
Materials:
-Resin (liquid)
-Catalyst (it comes with the resin)
-Small container
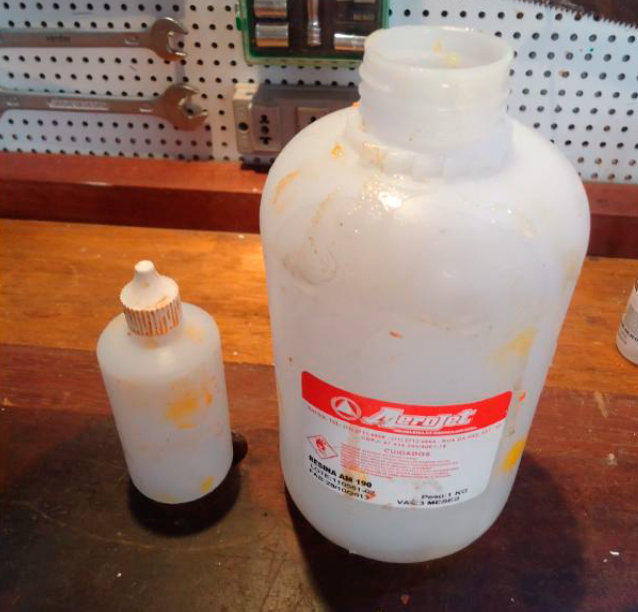
1-We must drop the catalyst and the resin in the container on the according amount
(described on the manual)
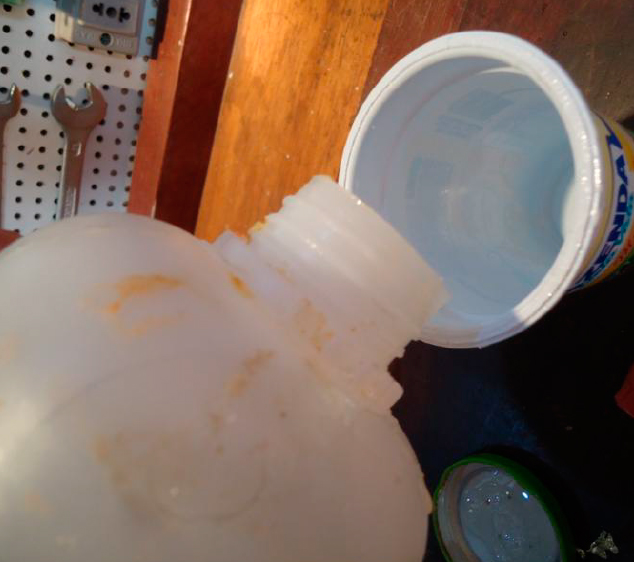
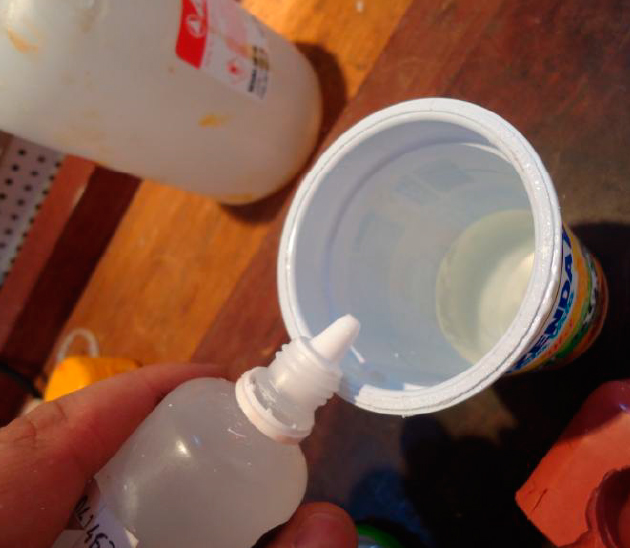
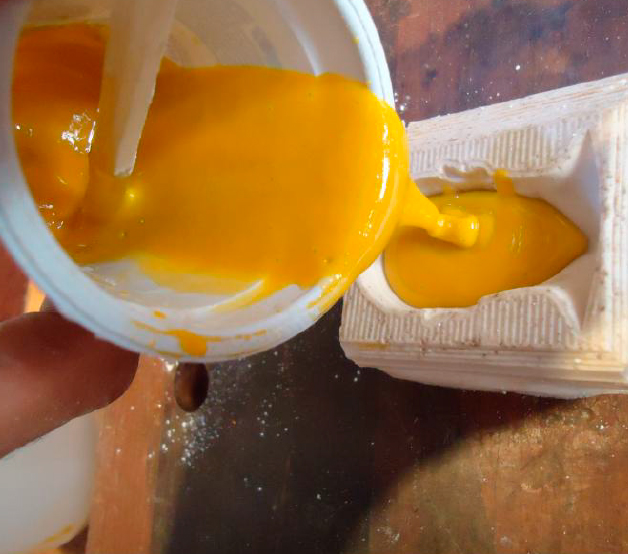
2-Mix the resin and drop it into the mold.
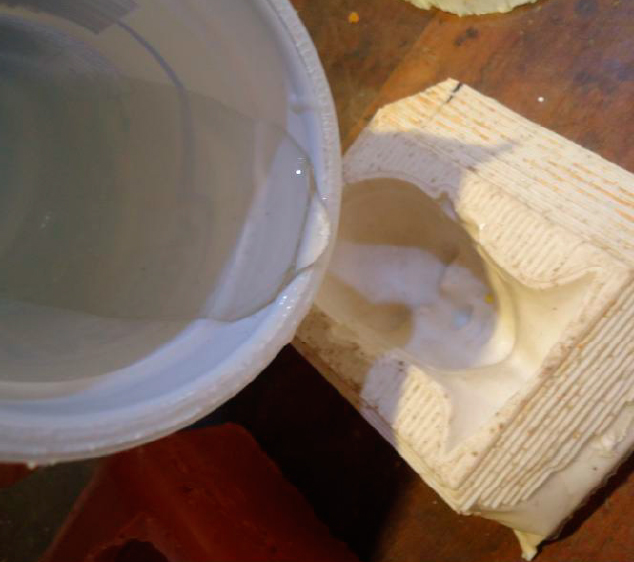

3-Let the resin cure. It takes 30 minutes to 2 hours. It depends on climate conditions.
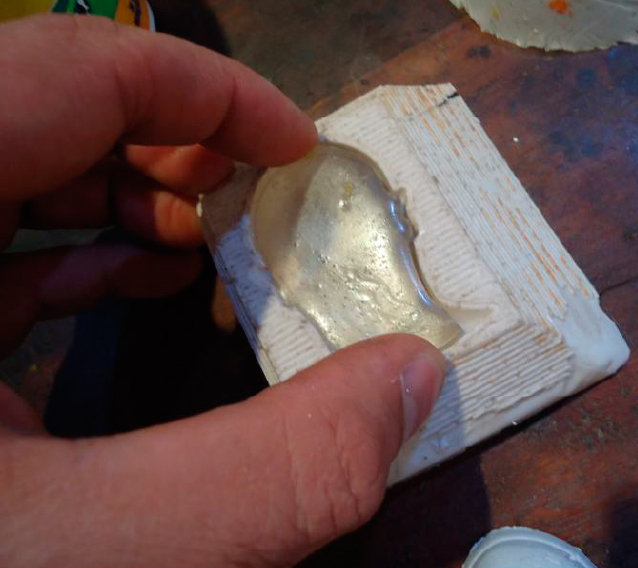
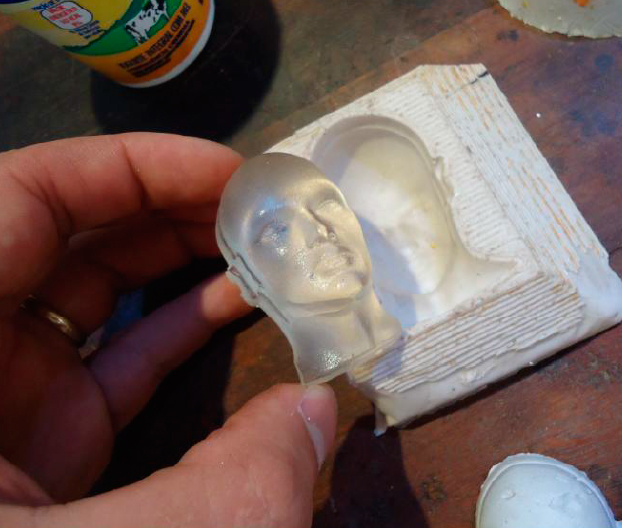
4-Now it’s ready! In this example, the resin was prepared without any pigment. We can use
special pigments (made for this application).
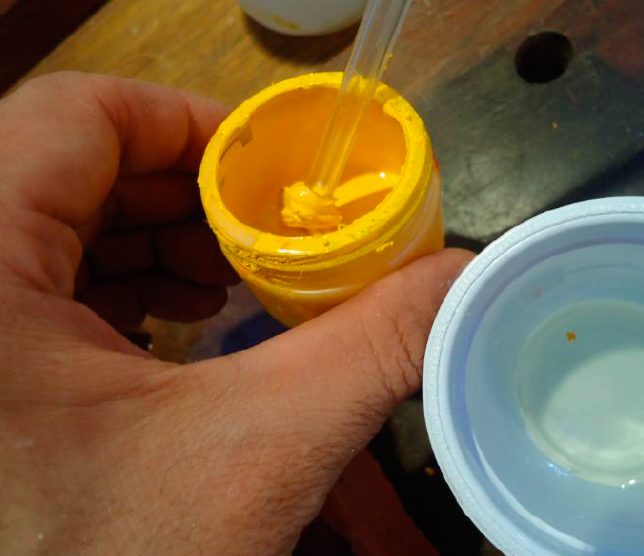
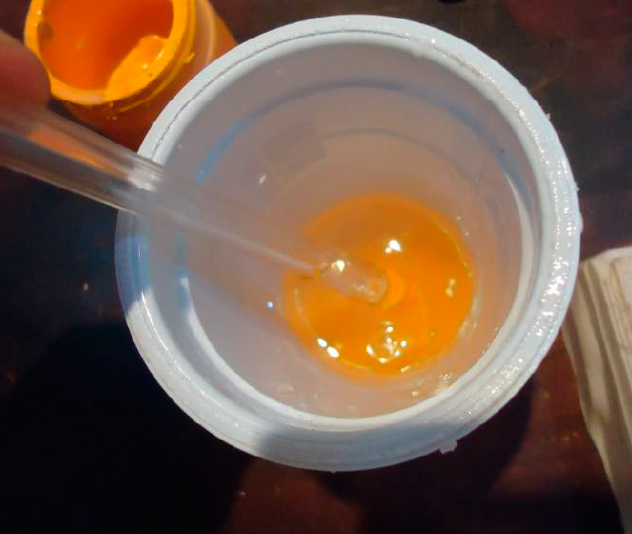
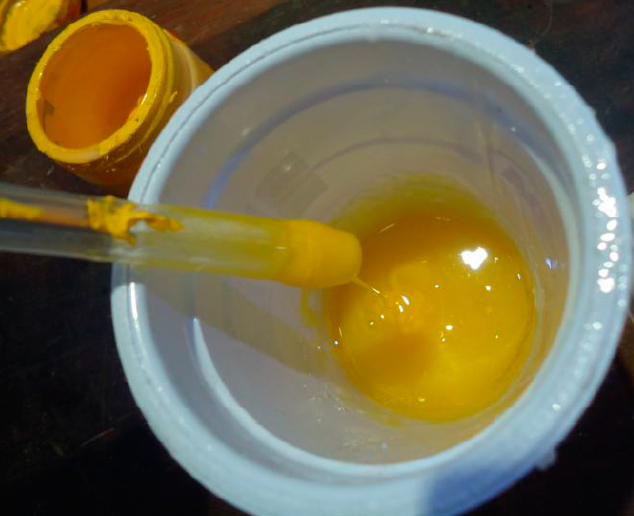
The pigment is manufactured as a paste. It’s added in the resin according to the concentration
of the color desired.
To spend less resin, there are some aggregates that can be added, such as Talcum powder, marble powder, wood flour, etc.

The addition of aggregates modifies the viscosity of the liquid and the color of the workpiece.
Here is the difference between the two methods (on the left, just resin, and on the right, 30% of talcum was added)
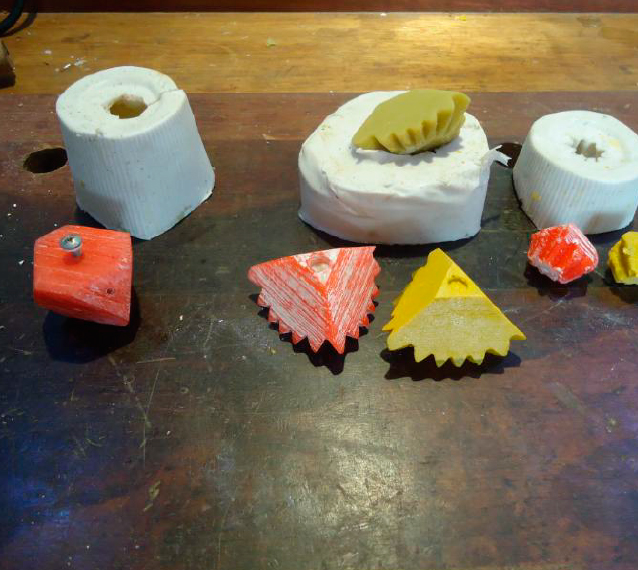
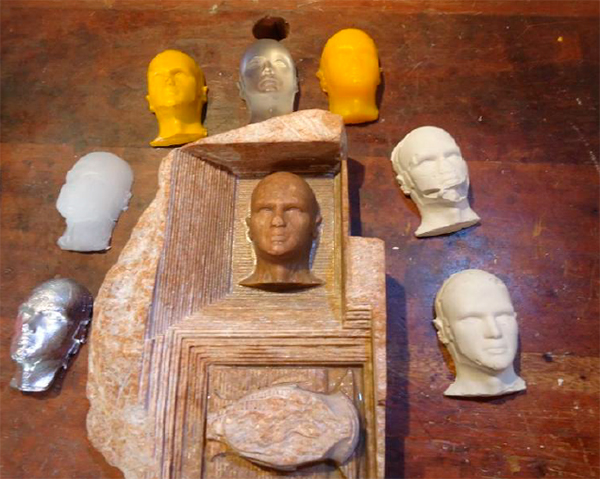
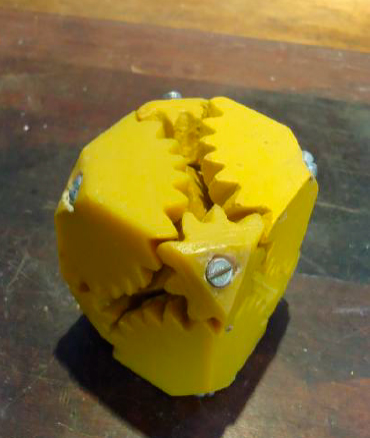
This is a fast technique used to replicate complex parts that would take a long time to be made in a 3D printer, at the same time that the workpieces reproduced seem like the 3D-printed one. On the image, the red workpieces were 3D-printed, and the yellow were made with this process. We used spackling paste and using a sandpaper, we obtained a smooth and flat surface, ready to make a mold. With the molds, four parts were replicated, and so we assembled a Gear Cube. Actually with
these techniques, it’s possible to build anything at home.

Reproducing using melted materials
Tin and paraffin wax are materials with a low-melting temperature. Because of this, they can
be melted at home with a cooker, a Bunsen burner, etc. In this experiment, it’s highly
recommended to use adequate personal protective equipment, such as gloves, glasses,
adequate shoes.
Paraffin wax
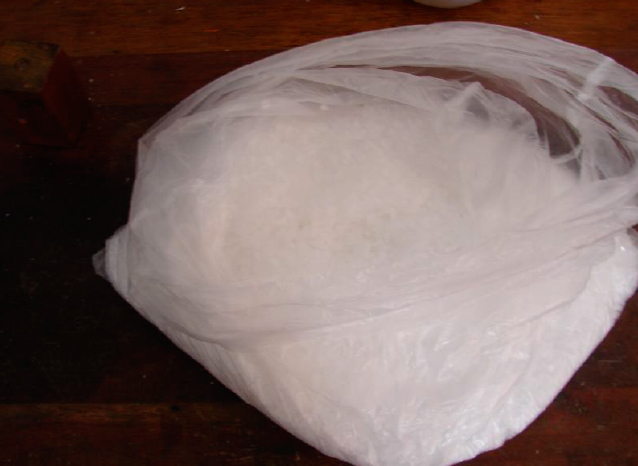
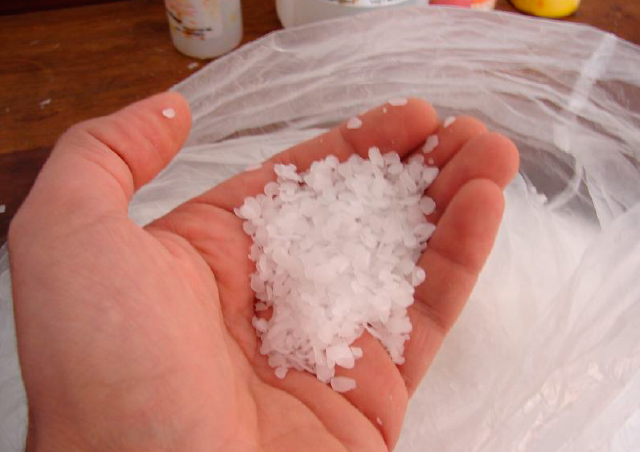
Paraffin is derivable from petroleum, and candle are made of paraffin. To get paraffin we can melt candles, but it’s is also commercialized in small grains.
Materials:
-Paraffin
-Metallic container
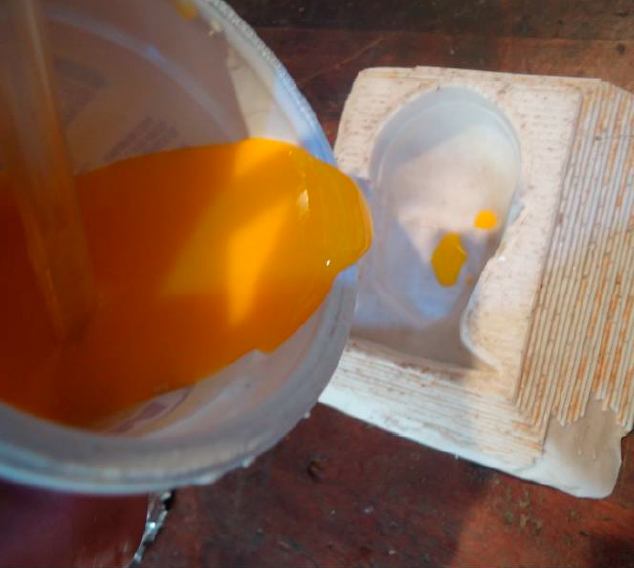
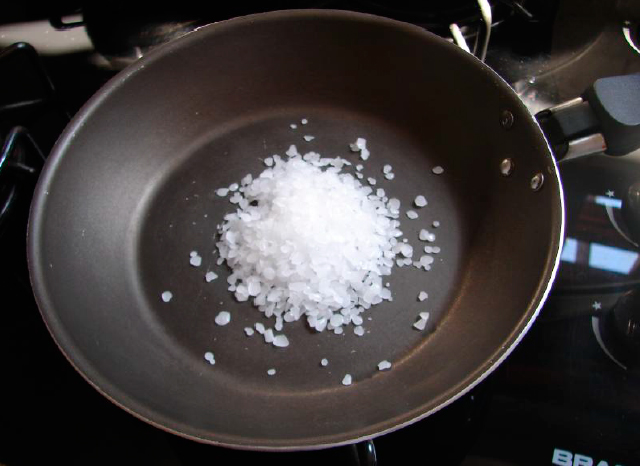
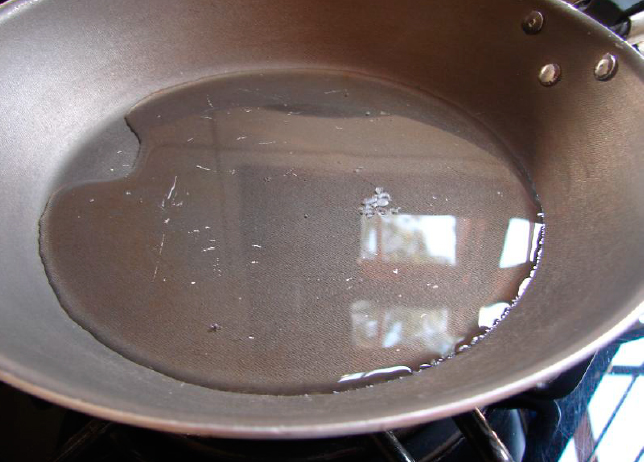
1-Drop the paraffin into the metallic container and burn it to 60°C. You can use a frying pan, in this case you’ll need to burn it carefully and if necessary ask someone help. If you use a cooker and a pan, the flame must be low. Avoid moving the pan abruptly and do not put the paraffin directly on fire (it is inflammable!). In case the paraffin is on fire, cover it with a lid bigger than the pan.
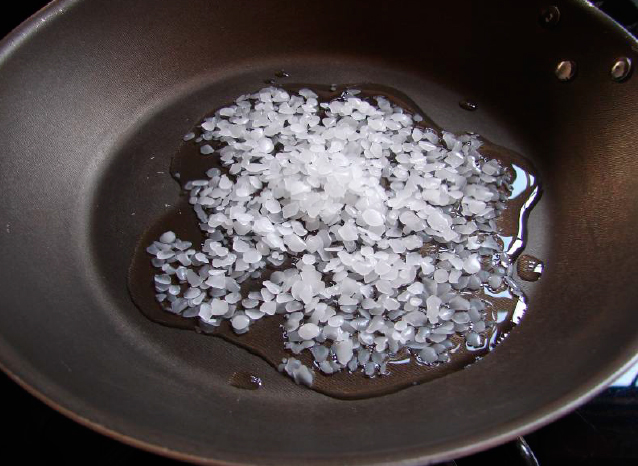
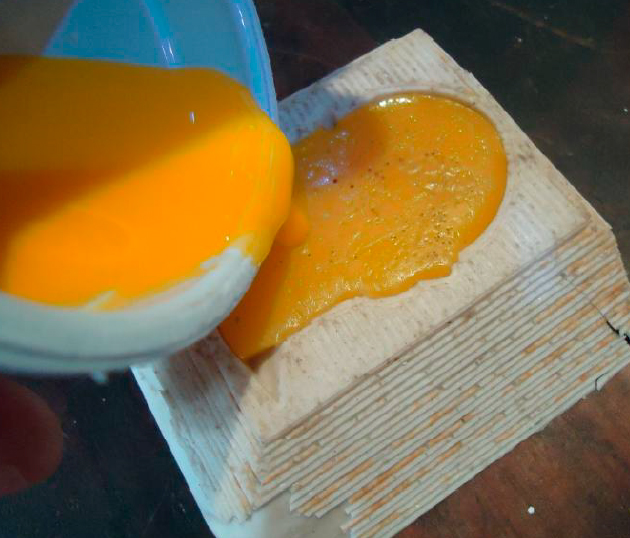
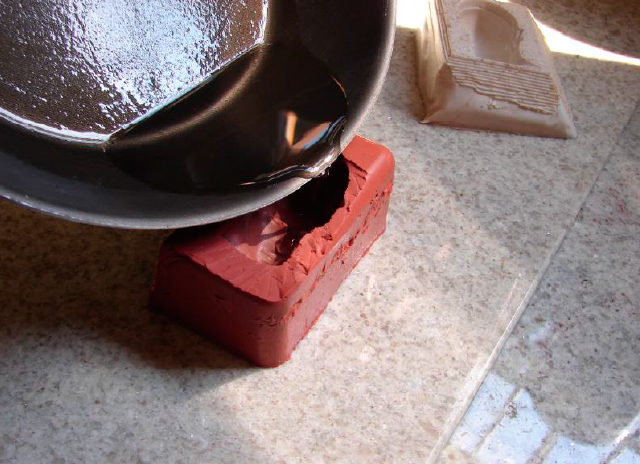
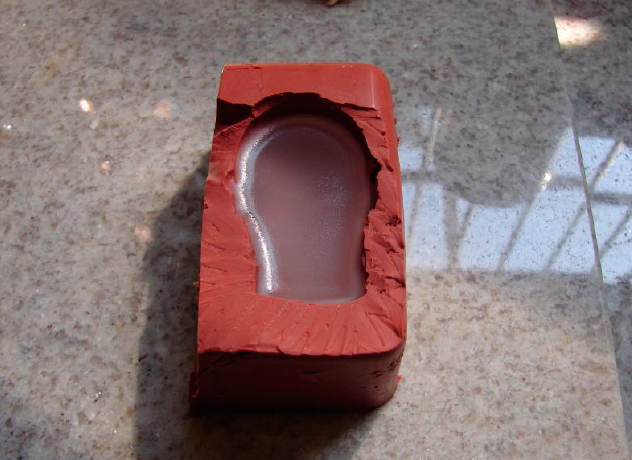
After all the paraffin is melted, drop it carefully into the mold.
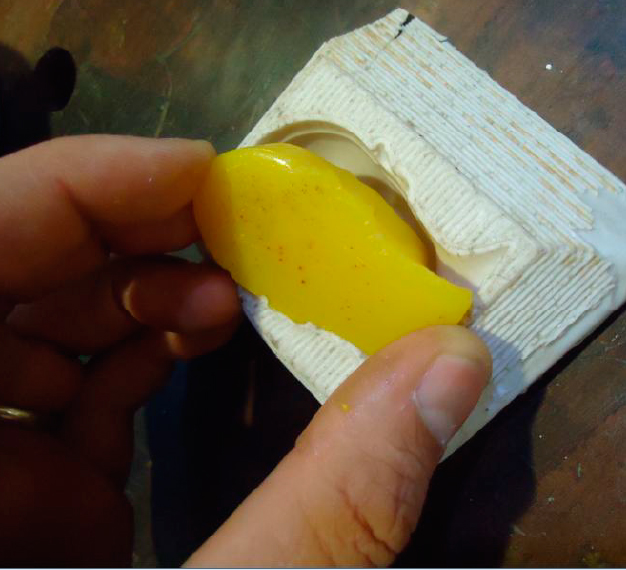
The solidification is slow, it takes 15 to 45 minutes depending on the size of the workpiece.
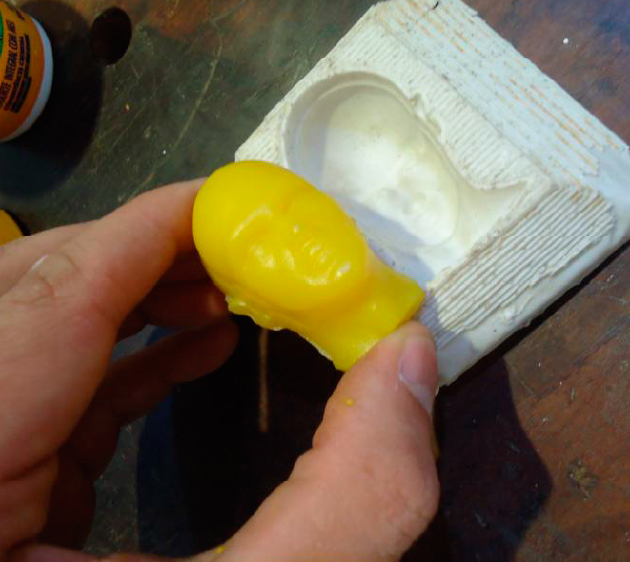
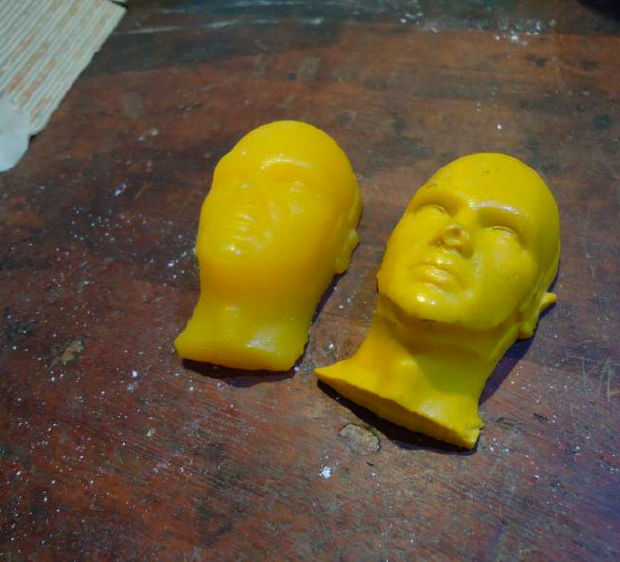
As the material solidifies, it gets an opacity appearance. We can see on these photos:
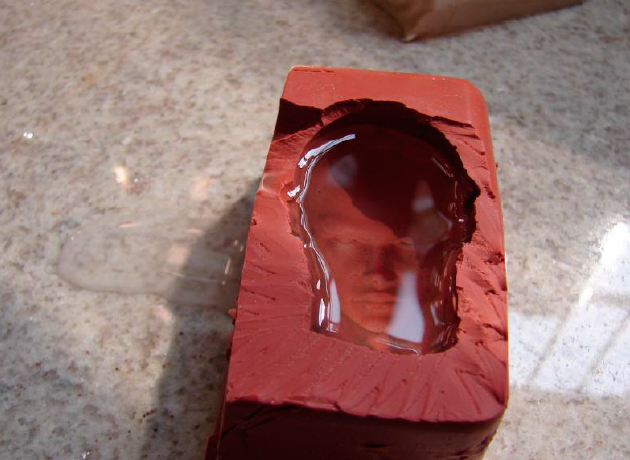
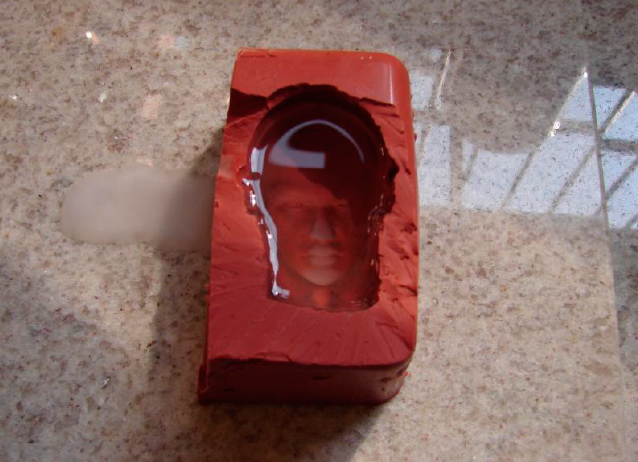
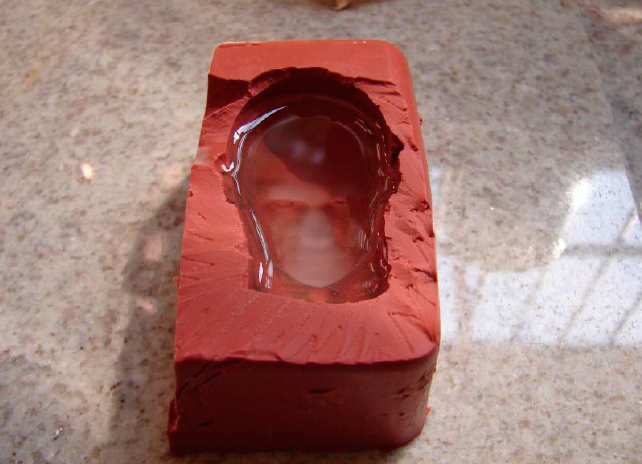
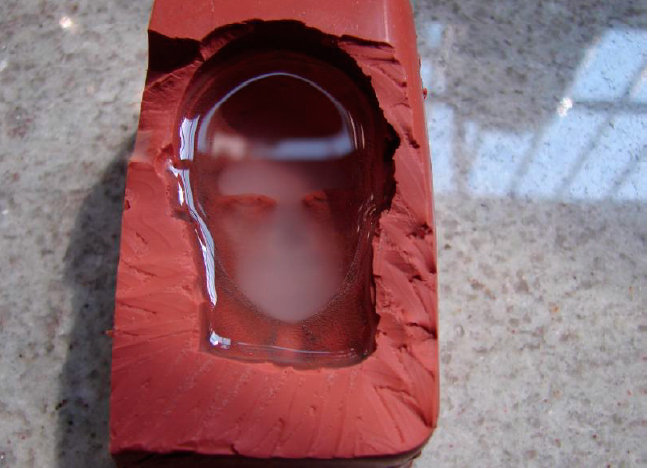
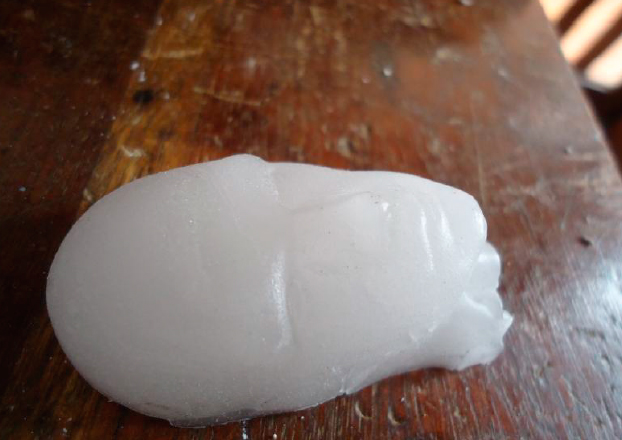
Even if the workpiece is entirely opaque, it’s recommended to wait for more 30 minutes,because the center may still be liquid.

Tin
Using a similar method, but at not so high temperature, we can melt tin and lead (the last one is not used for obvious reasons!). Tin can be obtained from hardware shops (it is sold as bars, used to solder copper tubes).
There is another kind of tin, used to solder PCBs, but its composition is different, and when it is melted, it releases a toxic gas that is prejudicial in a high amount.
The method of melting the tin is the same as the paraffin. You can use a cooker as well, and the same care is needed.
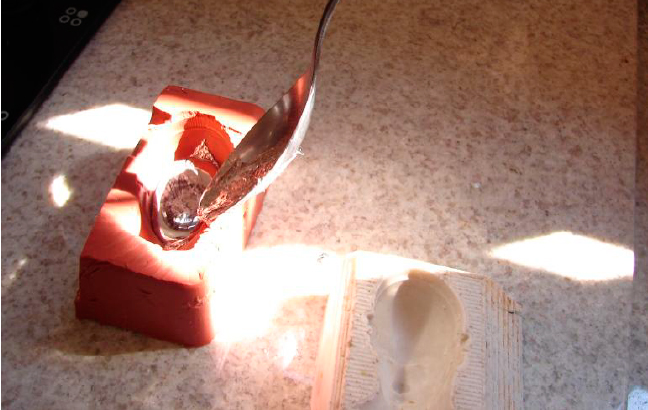
Cut the approximate volume that you will need for the molding, and melt it in a metallic container or a frying pan. The melting process can take some minutes.
After completly melted, pick small amounts of tin with a spoon and drop it carefully into the
mold. Repeat this until the whole mold is complete.

It’s recommended to wait for 30 minutes before touching the mold. Even after it solidifies, it’s better to not touch it directly. To guarantee the workpiece is good to handling, the best is to contact the mold with water.
See too:
The molds of Civilization
http://fablearn.stanford.edu/fellows/blog/molds-civilization
How to make silicon molds
http://fablearn.stanford.edu/fellows/blog/how-make-silicone-molds